Coefficient enables the seamless import of your current Excel worksheets into Google Sheets/Excel. You have the flexibility to import an Excel sheet from your cloud accounts (OneDrive or Google Drive), upload it directly from your local machine, or utilize a link/URL. This functionality empowers you to construct dashboards, tables, and charts driven by the data within your Excel worksheet. 📊
Schedule your Import, Snapshots, and Automations
Connecting to Cloud Storage
Before completing an import from Excel, you will need to connect/authorize Coefficient permissions to access your Cloud Storage (OneDrive or Google Drive). ☁️
Connecting to OneDrive
|
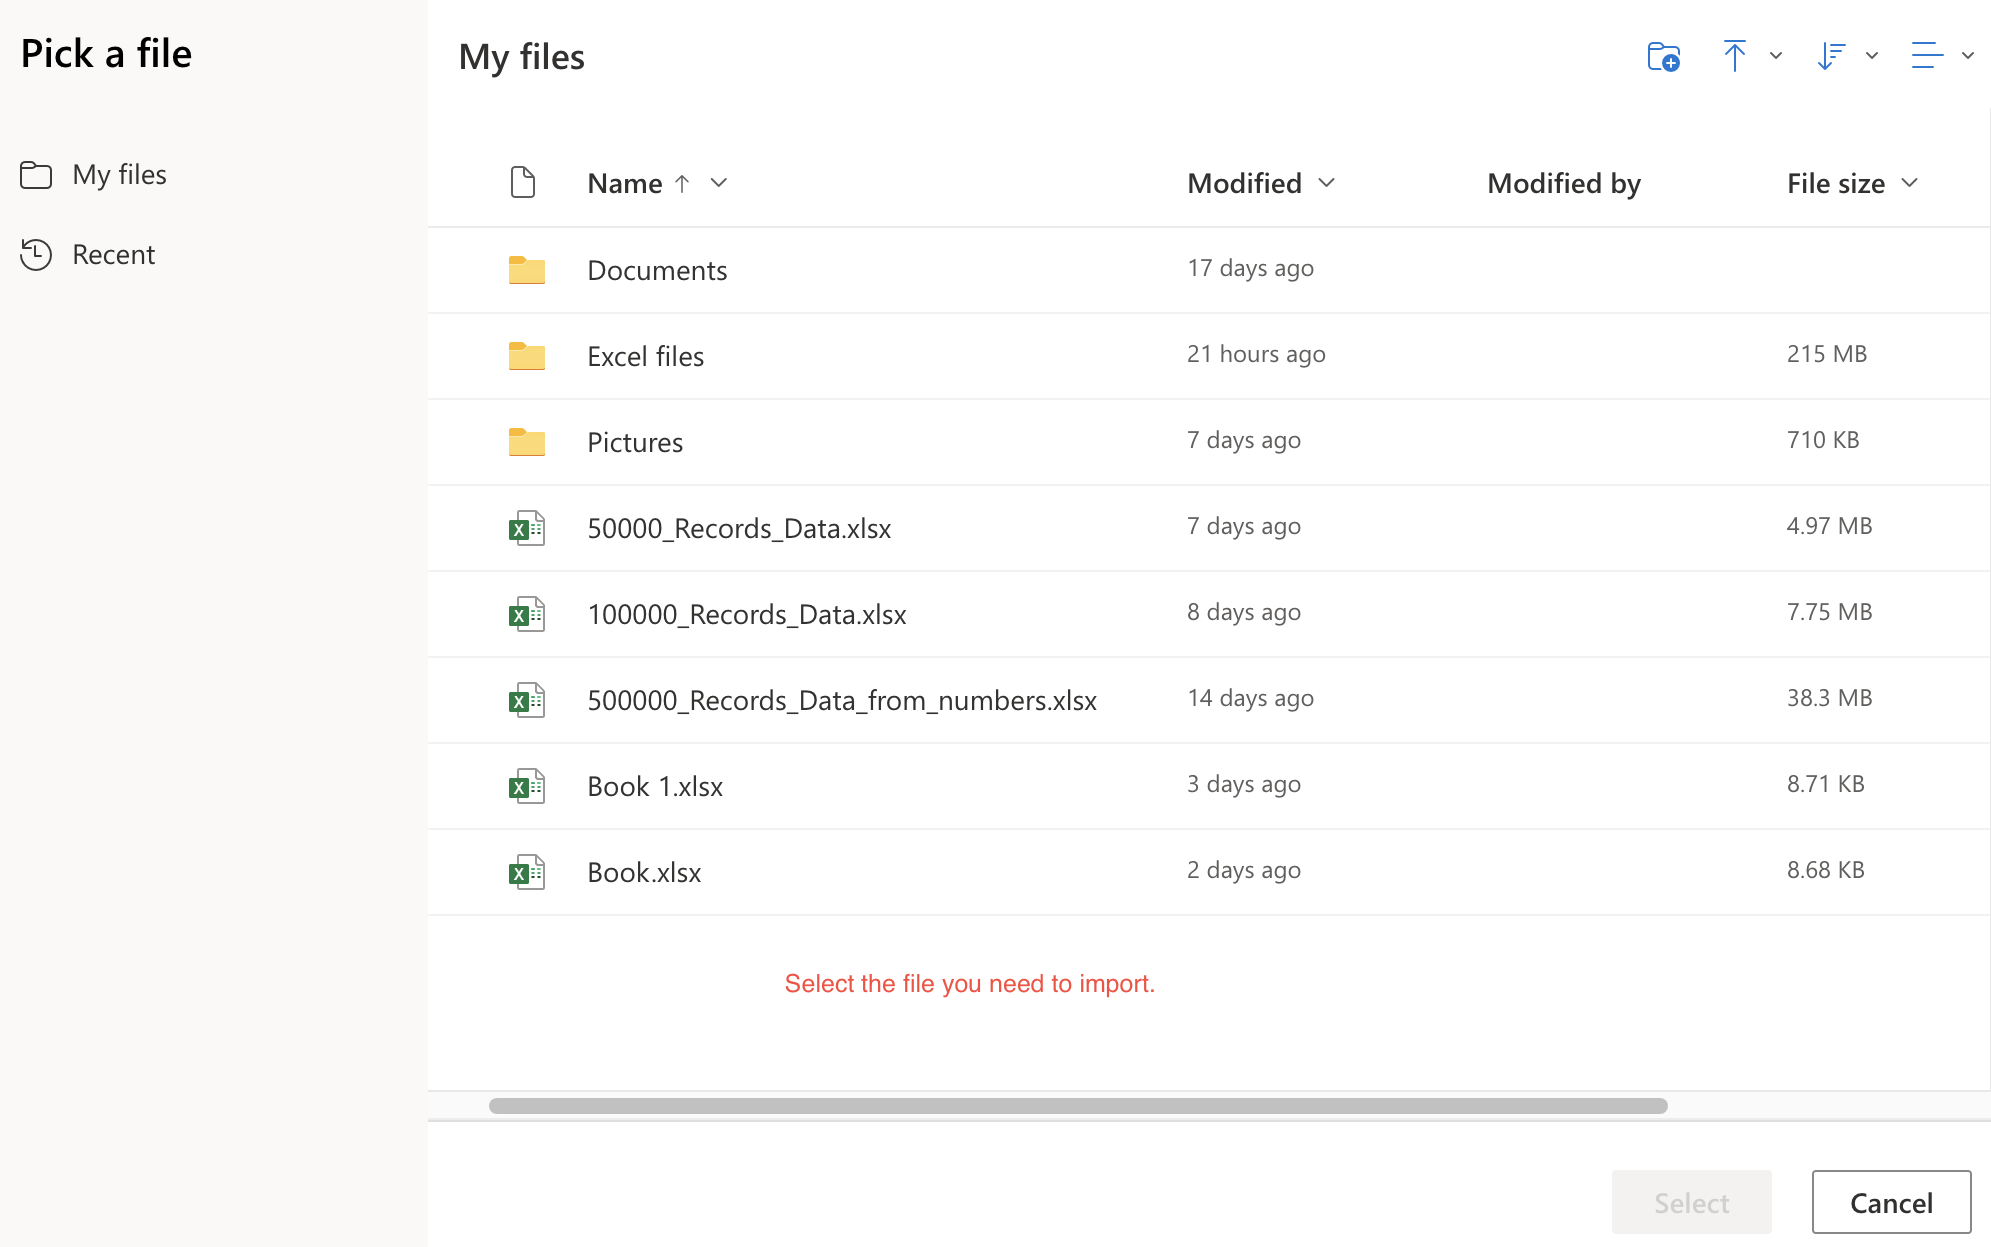
1. Open the Coefficient Sidebar and select "Import from". |
2. Click on "Files".
|
|
3. Select "Excel" from the list. |
4. Select “From One Drive”. |
5. Click on "Authorize". |
6. Enter your username and password for your OneDrive account.
7. Once authentication has been confirmed, you can proceed with your Excel import. 😎
Connecting to Google Drive
|
1. Open the Coefficient Sidebar and select "Import from". |
2. Click on "Files".
|
|
3. Select "Excel" from the list. |
4. Select “From Google Drive”. |
5. Click Authorize. |
|
6. Select the Google account you wish to connect to.
|
7. Grant Coefficient access by selecting “Allow”.
|
8. Once access has been given, you can now select your Excel file from Google Drive to import. ✅
ℹ️ NOTE: If you previously connected to your Google Drive, you will not be prompted to reauthorize - you can select your import(s) directly.
Importing from Excel
Our Excel integration is very versatile, and we have provided a few pathways to import from OneDrive and Google Drive. Let’s go through each one. 🕵️♀️
From One Drive
|
1. From the sidebar, select “Import from…” |
2. Click on "Files". |
|
3. Select "Excel" from the list. |
4. Select “From One Drive”. |
5. A window will open up, allowing you to select the Excel file from your OneDrive.
|
6. You can customize your import by selecting “Tab”, “Range” and “Header”.
ℹ️ NOTE: You can specify the “Header” or you can select “None” and then click “Next”.
|
|
7. To further customize this import, you can re-orientate the columns by dragging and dropping the column names to the desired order. You can also add filters and sort the data as needed. If you have formulas you have added to your sheet, check out our Auto fill down formulas feature. ℹ️ NOTE: If you would like your Coefficient import to “Preserve formatting” (maintain the formatting) that is reflected in the original, make sure that this feature is enabled. Formatting that Coefficient supports includes cell highlights, text coloring, borders, etc. |
8. Congratulations on your first Excel file import from OneDrive!
From Google Drive
|
1. From the sidebar, select “Import from…” |
2. Click on "Files". |
|
3. Select "Excel" from the list. |
4. Select “From Google Drive”. |
5. A window will open up allowing you to select the Excel file from your Google Drive.
|
6. You can customize your import by selecting “Tab”, “Range” and “Header”. ℹ️ NOTE: You can specify the “Header” or you can select “None” and then click “Next”. |
7. To further customize this import, you can reorientate the columns by dragging and dropping the column names to the desired order. You can also add filters and sort the data as needed. If you have formulas you have added to your sheet, check out our Auto fill down formulas feature. |
If you would like your Coefficient import to “Preserve formatting” (maintain the formatting) that is reflected in the original, make sure that this feature is enabled. Formatting that Coefficient supports includes cell highlights, text coloring, borders, etc. |
8. Congratulations on your first Excel file import from Google Drive! 🎉
Upload File
|
1. From the sidebar, select “Import from…” |
2. Click on "Files". |
|
3. Select "Excel" from the list. |
4. Select “Upload File”. |
5. An Upload window opens that allows you to either upload an Excel file from your machine or drag and drop the file for upload.
|
6. Select the Tab, Range, and Header from the dropdown options. |
7. From here, you can edit the order of the columns (drag and drop), add filters/sort, and even enable Advanced Settings. Check the “Preserve formatting” box to apply the same style and format from your source sheet to this new import. (ie: cell highlights, text coloring, borders, etc).
|
8. Congratulations on your first Excel (Upload) import with Coefficient! 🎉
From URL
|
1. From the sidebar, select “Import from…” |
2. Click on "Files". |
|
3. Select "Excel" from the list. |
4. Select “From URL”. |
|
5. Enter the URL on the text box and hit “Next”. ℹ️ NOTE: Make sure that the URL you are using returns an Excel file and not an HTML page. |
6. Select the Tab, Range, and Header.
|
|
7. From here, you can edit the order of the columns (drag and drop), add filters/sort, and even enable Advanced Settings. Check the “Preserve formatting” box to apply the same style and format from your source sheet to this new import. (i.e., cell highlights, text coloring, borders, etc.).
|
|
8. Congratulations on your first Excel (URL) import with Coefficient! 🎉
Schedule your Import, Snapshots, and Automations
Once you have pulled your data into spreadsheets using Coefficient, you can set up the following:
FAQs for Excel
What formatting options are preserved with Coefficient/Excel imports?
Below are some of the formatting options that are supported by our Excel integration:
What specific date formats from an Excel file do you support?
In Excel, you can have different locales for each cell. We support the following locales:
What Excel file format(s) does Coefficient support?
Our Coefficient Excel connector supports XLSX file formats from post-Microsoft Excel 2007. If you are having issues importing your file, please save it as a new XLSX format and try to import it again. Please reach out to support@coefficient.io if the issue persists.
Do you have any file size limitations when importing from an Excel file?
We currently support single Excel files of up to 25MB in size and hyperlink/URL files of up to 4 MB.
The following error message is coming up. “The OneDrive view is not supported within the current session. Please reload this page on your browser in order to continue.”. What should I do?
This is an API warning from OneDrive. To resolve the error, right-click from anywhere in the window and reload the page. The issue should be resolved. If it persists, please reach out to support for further assistance.